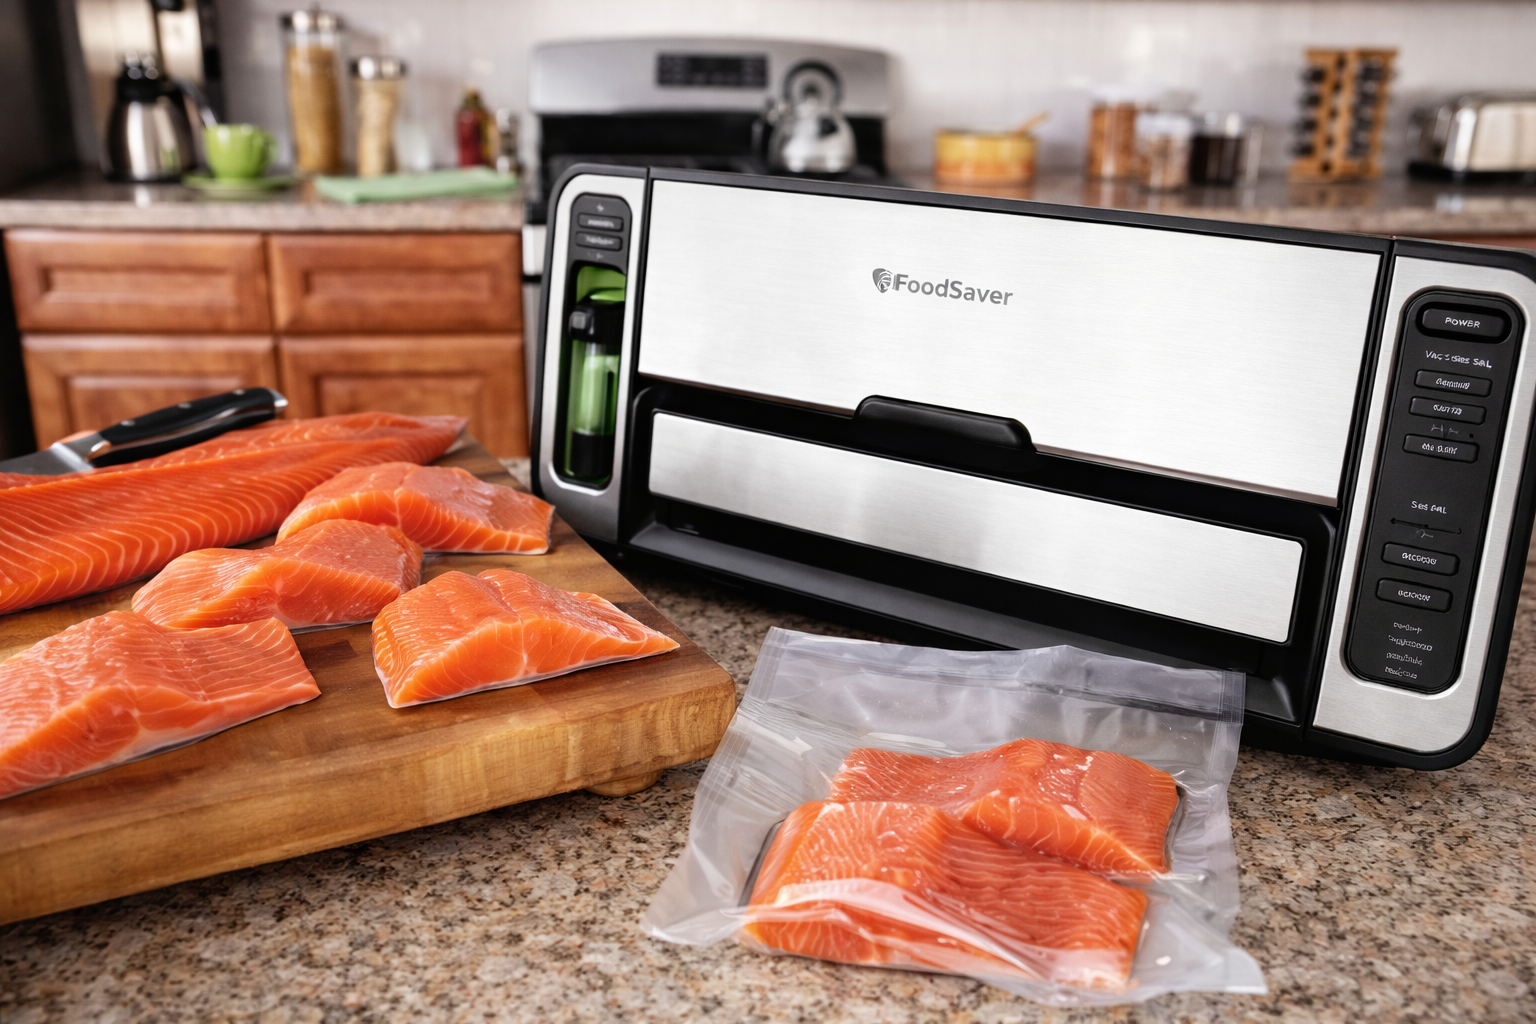

Bobbers aren’t just for kids. Adding a slip bobber to your arsenal can expand your opportunities, allow you to present bait more naturally, and help avoid untimely snags. Once you know how to rig a slip bobber and know how to use it, you will, without a doubt, fill your creel while others go home empty-handed.
Why a Slip Bobber?
Having a bobber allows you to keep your bait off the bottom and in the strike zone. It will also help avoid snags, a common problem when using other rigs such as the fish finder or high-low. Slip bobbers offer a more natural presentation by allowing the bait to drift past ambushing gamefish. Rather than having it sit in one place hoping fish find it.
But you can’t use just any bobber. A fixed bobber offers more limitations than assistance. They are nearly impossible to accurately cast unless the bobber is secured very close to the bait. If the bait is fixed close to the cork, you are limited and will be fishing very shallow. Fixed corks have their place, but the slip bobber rig is much more convenient.
The slip bobber addresses all these problems and more. Because the entire rig compresses when casting, you will be able to achieve longer, more accurate placement. A simple adjustment of the stopper allows you to fish very shallow, inches off the bottom, or anywhere in between. Plus, a slip bobber can be rigged for almost any species, including trout, catfish, or even tarpon.
How to Rig
Rigging a slip bobber is not difficult at all. Anyone can do it with minimum supplies and be ready to go in minutes.
What you will need:
- Bobber
- Stops
- Bead (optional)
- Swivel
- weight
- Attach the stop to your mainline. Specific placement will depend on where you will be fishing and what you will be targeting. Do not worry; the stop can easily be repositioned.
- Slide the bead onto the line below the stopper. Adding a bead is optional, but stops do prevent the bobber from getting hung up on the stopper.
- Slide the bobber onto the mainline, ensuring to pass through from top to bottom.
- Attach swivel
- Attach a leader to the swivel
- Add weight – there are three options for adding weight to your rig: (1) use a weighted bobber, adding a slip weight between bobber and swivel, or adding split shot to the leader. See tips below for more information on each.
There you have it; your slip bobber is ready to go. Add a hook and your favorite bait, and you will be catching fish in no time.
Tips
Before you run out and start tossing your slip bobber in any puddle, you can find there are a few tips that will help you achieve success.
- Select the right bobber. It would help if you had a bobber that is light enough to float effectively but large enough not to be pulled under by your bait and weight added later. You also need to pick a float that is brightly colored so you can track it and tell if a fish has taken the bait.
- How to use weight - There are three options for adding weight- at the bobber, a sliding weight, or split shot. Weighted bobber increase casting without adding weight to the line and are suitable when free lining or throwing heavier baits. Sliding weights will allow for better casting and let fish take the bait before feeling resistance. Split shot weights are easily adjusted and allow for a just off the bottom vertical presentation.
- Setting up a drift - One of the more successful presentations involves allowing the bait to drift into the strike zone. Cast upstream or current and will enable the rig to drift past likely ambush points adjusting weight to achieve the right speed.
Check out this video on how to rig a slip bobber or float rig: